Funeral Program Borders
Borders, Frames and Autoshapes in Microsoft Word and Publisher
When looking for ways to dress up a funeral program, bulletin or other keepsake, begin your search by looking in Microsoft Word or Publisher. Both programs include a helpful collection of borders, frames and autoshapes to add visual interest and design elements to your funeral publications.
Using Frames and Borders in Funeral Programs and Booklets
When creating a funeral program or memento in Word or Publisher, you’ll find many tools to enhance the text and photographs you choose to include. Framing photographs in these programs can be as simple as clicking on the photograph you’ve inserted. In the ribbon of commands that appears at the top of the Word or Publisher window, you’ll be given several choices for framing and adding borders your picture.
To the side of those frame options you’ll find border, color and effects options to customize the appearance of the photograph. Choose options that make the photo stand out without overpowering the page and you’re on your way to designing an attractive memento for the funeral or memorial service.
Another method of bordering a page or section of text is by using the Borders and Shading Tool that’s part of the Microsoft Word Home ribbon. Highlight the section you’d like to surround with a border and use the drop-downs in each tab to select the look you prefer.
You’ll find a Borders and Accents menu in the Insert ribbon of Publisher that will allow you to similarly draw borders and backgrounds for text or photographs. The wide variety of designs ensures your funeral publication will be uniquely attractive.
Using Autoshapes to Enhance Funeral Publications
One more way you can easily dress up the look of a funeral program or booklet is by inserting shapes to break up text or highlight a section. In both Word and Publisher, look for the Shapes menu in the Insert ribbon.
View our Borders and Titles Clipart
" class="link-button button-green">View our Borders and Titles Clipart
That’s where you’ll find banners and other autoshapes that can be edited (including inserting text) to add interest to your publication (don’t forget to use the Border tool to make them stand out even more.) Tip: the wide variety of flourishes and separators included can help to separate sections and make the program more easily read.
Here’s a bonus for those of you hoping to design a memorable keepsake for a loved or client: tastefully using WordArt (found in the Insert ribbon) can add a special touch to your publication. Use the Drawing Tools menu that appears once you’ve selected WordArt to change the color, border, shape and other aspects of the text you’re highlighting.
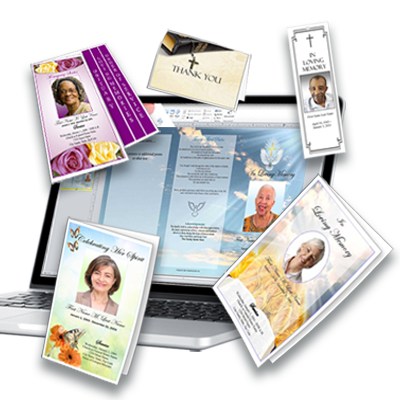
Designing a beautiful memento to a friend or loved one, or on behalf of a client, isn’t difficult once you’ve learned how to use the frames, borders and autoshapes available in Microsoft Word or Publisher. If you prefer to let someone else create the basic design, you’ll find predesigned templates for funeral programs here.
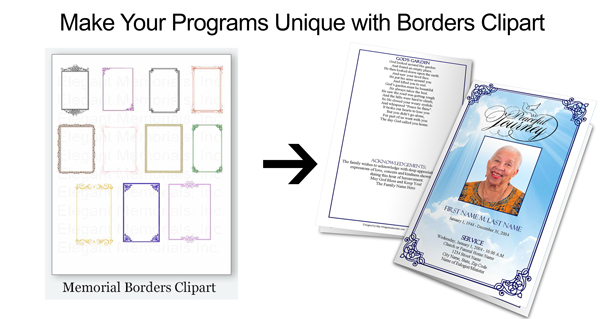
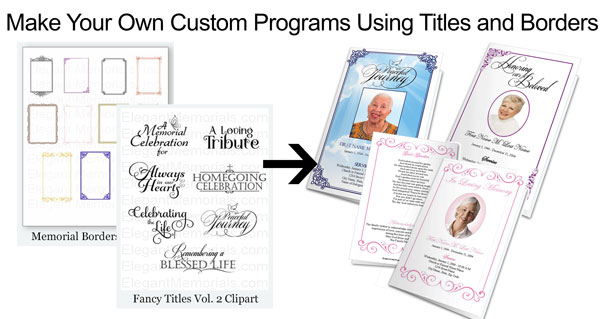
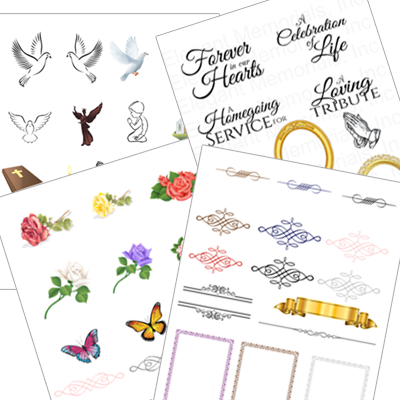
If you want a fancier border, frame or flourishe, check out our funeral program clipart. Clipart is another quick way you can add style and uniqueness to your programs and keepsake. See our article on funeral program clipart, and browse our funeral clipart collections.
All Elegant Memorials templates can be customized using these graphics tools in Microsoft Word and Publisher. Let us know how we can help as you embark on your design project. We’d love to assist you in making it memorable.

