Funeral Program Pictures and Photos
Photos in funeral programs add a special touch to your funeral or memorial service. The help personalize your program and make it special. Photos help celebrate the deceased person's life, and helps to remind grieving family members of special memories that they shared with their loved one. Displaying photos in funeral programs and other printed materials doesn't have to be difficult. Follow these simple steps to get your photos scanned and ready for print.
Select and gather your pictures
Collect all the photos that you want to use. Hera are a few suggestions to help you get started. Also see our article on selecting photos for funeral programs and booklets for more information and suggestions
- Consider using photos from different times during your loved one's life. Find a few childhood pictures, and life milestone pictures such as graduations, weddings, military, organizational pictures. Adding a variety of photos help give your keepsake a custom funeral program look and feel.
- Locate pictures of family members and good friends. If your loved one enjoyed a special hobby or talent, try to find pictures of them engaged in the hobby.
- Check digital cameras, and cell phone cameras and computers for more recent photos.
- Don't forget the Internet. Check Facebook, Instagram, and other Social Media Sites that may have photos of your loved ones.
- Ask family members and friends if they have photos in digital format or from social media that they would like to share.
Add your favorite photos to a funeral program
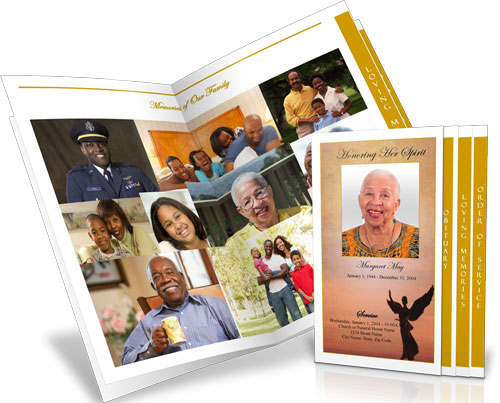
- Add your favorite family photos and create collages
- Make a special picture memorial
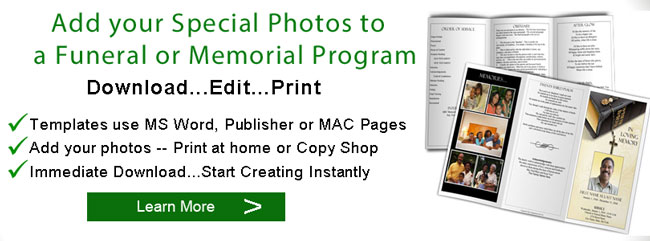
- Templates in Microsoft Word or Publisher or Mac Pages
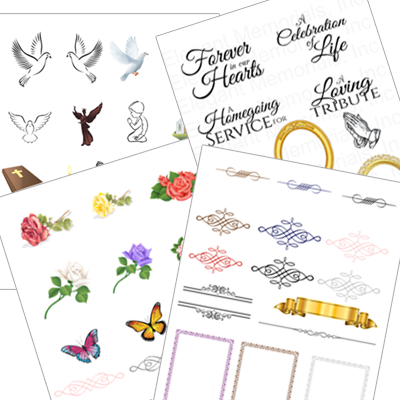
- Add Frames and Clipart to Photos to make it special
- All wording can be changed, including the program title
- Instant Download and Live customer support
The Funeral Program Cover Photo
For the funeral program cover photo, the best photo will be from a professional studio, (like a department store studio or photo studio), if possible. The best size is least a 5"x7", but preferably an 8"X10", with the focus above the shoulders. The larger size will ensure that the photo is sharp and focused once the picture is scanned in. These photos also have the best lighting, resolution (picture quality), and can be easily manipulated to fit the funeral program. The photo should be only of the deceased, so that the picture doesn't have to be cropped or cut down to remove others from the photo.
Get your Photos in Electronic Format -- Scanning your photos and pictures
Once you have gathered these pictures, decide which ones you will want to use. The next step is to get these pictures into an electronic format by scanning. Many printers and all-in-one devices have scanning capabilities. Scanning is pretty easy. Simply place the photos on a "flatbed" screen and press or click a button to scan the image. The image will appear on your computer, and you will be prompted to name and save you newly scanned photo.
Scanning Tips
- You may need to remove the photos from any frames, however, if you are afraid that removing the frame will damage the picture, try to scan the picture within the frame. You can always crop or cut the picture by using computer software editing tools to remove the unwanted frame once the image has been scanned.
- There are many Internet resources available to guide you through the process of scanning. Search Google for scanning photos or search YouTube for videos for scanning that are specific to your printer and software.
- If you don't own a scanner, many places have scanning capabilities. Photo processing and camera stores can scan pictures for you. You may also find self-serve scan kiosks at stores and drugstores that have photo printing capabilities. Prices may vary based on whether you scan yourself, or if you use a technician.
Inserting photos into funeral programs
Once your photos are scanned you can insert them into funeral program templates or other printed funeral materials. Inserting photos can be done by using the "Insert" command in both Microsoft Word and Publisher, as well as Apple Pages. Once your photos are inserted into your program template, you can apply ovals and other autoshapes, styles, borders, frames and clipart frames. For more information, see our articles on funeral program design ideas and the videos on inserting photos into funeral programs
Be aware that inserting pictures into your funeral program may significantly increase the size of your funeral program file. Large funeral program files can be difficult to work with. They can be difficult to open, print or email. If you find that your funeral program is difficult to open and work with, consider checking your photo file sizes and reducing them. You may need to research how to reduce file size, or ask a professional to reduce the photo file sizes for you.
Photos help make you funeral programs extra special. With a little effort, you can transform you funeral program into a cherished keepsake that you can keep for years to come.
Also See: Funeral Program Photo Collages, Funeral Program Information